Travel Photography: Mastering Your SLR Camera’s Manual Mode
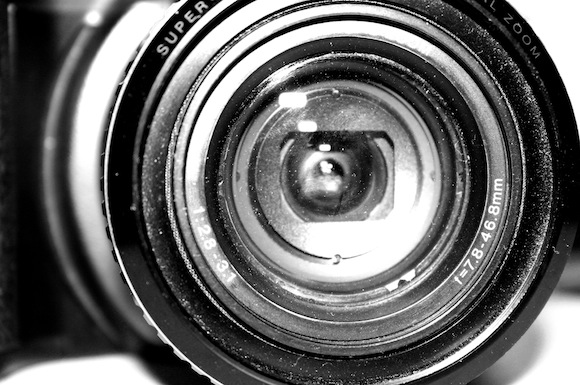
Image via rossbr
Why Use An SLR?
For my whole life I’ve taken photographs and put my trust in the camera to make it come out the way I want it. But so many times, the camera doesn’t know what you want. By putting your camera in Manuel Mode, you can manipulate things like shutter speed, ISO and aperture based on how much light you have at your disposal and how you want the shot to come out. To put it bluntly, your options for taking pictures becoming limitless.What Is A Camera?
A camera is a tight-light box that holds the lens and film. Light can go through, but this is what you can control to get the shot you want. An SLR camera is a “single-lens reflex” camera. These use a mirror positioned behind the camera lens to direct light toward the viewfinder when you take a picture. As you release the shutter, the mirror swings out of the way, allowing light to travel from the lens straight to the sensor and blacking out the viewfinder for the chosen amount of time. The best part about SLR cameras is you can make use of a wide array of lens focal lengths you can’t with a point-and-shoot.Variables Of Exposure
Exposure refers to how much light is allowed to hit the film or image sensor while you’re taking a photograph. This will greatly influence how your picture turns out, and is an important aspect to know how to manipulate. Here are some variables:1. Available Light
Think about how much light you have at your disposal, and how this will affect your photographs.2. ISO
This refers to the sensitivity of the film to light. You’ll need to think about how much light you need to capture an image. Luckily, the settings for ISO are standardized, meaning no matter what brand of camera you have a setting of 100 will be the same. Typical settings include 100, 200, 400, 800, 1600 and 3200. So, what do these numbers mean? The lower the number the lower the sensitivity. You work with lower numbers when you have a lot of light at your disposal. On the other hand, if it’s very dark you’re going to use a higher ISO. Because higher ISOs tend to lead to more grainy and noisy photos, your goal should be to use the lowest ISO possible for the amount of light available to you.3. Aperture
Aperture refers to the opening of your lens, and is also known as an “f stop.” You’ll want to focus on this especially when you’re taking a photo focusing on depth of field – which we’ll get to in a bit – as a wider aperture can help you focus on one thing in a photo and blur out the background. On the other hand, a smaller aperture is good when you want to make everything in the photo equally clear, such as in a landscape. Typical settings include f/ 2.8, f/4, f/5.6, f/8, f/11, f/16 and f/22. One confusing thing to remember is the smaller, the number the wider the aperture. This is because apertures are actually fractions, where the larger the denominator the smaller the value. For example, Think of f/100 as 1/100.4. Shutter Speed
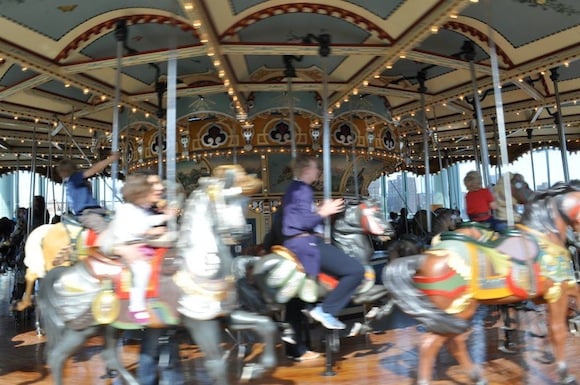
Shutter speed refers to the length of time the curtain that allows light in stays open. You only want light to come in the box when you allow it, and the curtain helps keep it dark. For example, a slower shutter speed allows for more light to come in, resulting in brighter pictures. Typical shutter speeds are 1/1000, 1/500, 1/250, 1/125, 1/60, 1/30,1/15 and 1/8. 1/1000 is very fast and allows less light in, while 1/8 is very slow and allows more light in for a brighter picture. Most of the time, you’ll want your shutter speed to be somewhere between 1/30 through 1/500. One thing to remember is you’ll need more light to come through when it’s dark. Moreover, 1/60 or faster can help with “camera shake” when holding the camera with your hands. You can also play around with shutter speed when deciding if you want a moving shot to be frozen or blurred (shown above). For instance, say you’re in Grand Central Train Station during rush hour, with hundreds of people rushing around you. If you want a crisp shot of everyone frozen, use a quick shutter speed. On the other hand, if you’d like to give the shot a bit of energy and movement with blur, opt for a slower shutter speed.An Analogy
Confused? Try thinking about it like this. Say you want to fill a bucket of water, with the water representing light. A full bucket represents a perfect exposure, while a less-than-full bucket is not enough exposure and an overflowing bucket is too much. ISO refers to the size of the bucket, meaning a low ISO is like having a huge bucket that you need to work harder to fill, while a high ISO needs only a small bucket and can be easily filled. Remember, you should try to get a big bucket even though it’s more work, because it will lead to better image quality. You’ll need to fill your bucket with a hose, and this is represented by aperture. A firefighter’s hose is wide and can fill a bucket easily and quickly, while a straw will take longer. The shutter speed is how long you’ll need to leave the water running. For example, a firefighter hose means less time is needed with the water running, while a wider aperture means a shorter shutter speed.When Is My Bucket Full?
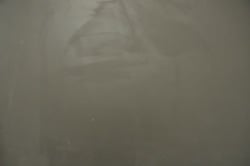
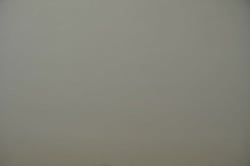
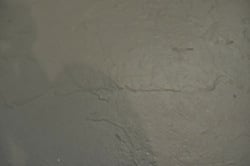
You can estimate when your bucket is full by looking at your light meter. This is the line that runs positive to negative, or negative to positive, on your viewfinder and screen. Usually, you’ll want to adjust the shutter speed and aperture until the light meter is at zero. Going to the positive (+) side will make the picture brighter, while the negative (-) will make it darker. While your light meter provides a good estimate, don’t rely solely on that. While in most cases zero is what you want, sometimes you’ll want to change the exposure to make something darker or lighter, especially since the camera tends to try to balance these out. For example, in class we did an experiment where we took a photo of a white wall, a black wall and a grey floor. While in reality each color was completely different, setting the light meter to zero caused the photos to all appear grey (shown above). You can fix this by adjusting the aperture and shutter speed to go one step in either direction toward brighter or darker.Bracketing
If you’re unsure of what you want, you can always do something called bracketing. You do this by adjusting the light meter to be at -1, then zero, then +1 to see which you like best.Understanding Plane Of Focus & Depth Of Field
Focus is all about distance. There’s always one plane of focus, or the distance the things you want to be focused will be located. Depth of focus is the range in front of and behind plane of field that is “acceptably focused.” For example, when taking a photo of a friend who is 5 feet away, anything else at that 5 feet away line will be in the plane of focus and will be very sharp. One thing to keep in mind is your plane of focus always runs parallel to camera. Moreover, if you have the camera at an angle your plane of focus will be angled. Using this knowledge can help you capture interesting shots using an angled plane of focus and choosing what exactly you want in it.Variables Of Depth Of Focus
There are a few variables when it comes to depth of focus.1. Aperture
A wide aperture leads to a shallow depth of field, which means not everything is in focus. This is good for portraits or a photograph of an insect on a flower when you want the background out of focus. If you use a smaller aperture, meaning it will be a larger number, the depth of field will have everything in focus. This is good for landscapes or when you want people to see many different things in one shot.2. Distance To The Subject
The closer you are to the subject, the more shallow your depth of field will be. This means less will be in focus. On the other hand, if you’re farther away from your subject you’ll have a deeper depth of focus.3. Focal Length
This refers to the lens you’re working with. A shorter focal length, such as when your lens is 18mm, means you have a wider view and things look farther away. Furthermore, a longer lens (telephoto lens) that’s higher than 55mm collapses the space, and is great for magnifying something in the distance or focusing on one detail. Just be aware, subjects will appear much closer together when using a long lens. The lens will effect your depth of field because it gives you a shallow one, while a short lens gives you a deep depth of field.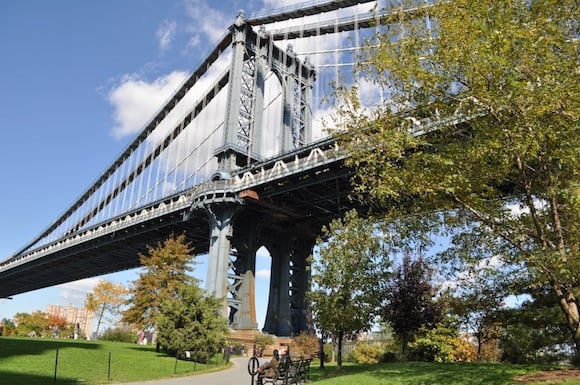
Cheat Sheet
Think about it step by step: 1. Set your ISO for the available light. 2. Ask yourself, “Is this picture more about movement or depth of field?” If movement, set your shutter speed first. If depth of field, set your aperture first. 3. Use your light meter to set the last variable, whether it’s your aperture or shutter speed. 4. Remember, sometimes you may need to change your ISO to use the shutter speed or aperture you want.Why You Should Take The Course
Along with seeing the above information and more in a first-hand, interactive manner, you’ll get to put these ideas into practice throughout the day by actually going outside and taking photos. The class is six hours, allowing for much ground to be covered, as well as practical application by the students. The instructor will show you how to work with the settings and find them on your specific camera, and will work with you to help you get the shots you want. Constant analogies and examples, as well as a slideshow of how professional photographers work with aperture, shutter speed, planes of field and depths of field make the material easier to comprehend.Recommended Equipment
Here are some of my favorite camera gear products for taking beautiful travel photography:- Nikon D5100 Digital SLR Camera(comes with extra lenses for a great deal)
- Vista Explorer 60-Inch Lightweight Tripod with Tripod Bag (you’ll need a tripod for night shots)
- Nikon 35mm f/1.8G AF-S DX Lens for Nikon Digital SLR Cameras (I love this lens for food photography)
- Nikon 8072 Microfiber Cleaning Cloth (don’t use your sleeve to clean your lens)
- Olympus Stylus TG-830 iHS Digital Camera with 5x Optical Zoom and 3-Inch LCD (Blue) (great for adventure photography and underwater shots as it’s waterproof and shockproof)
Some Notes On CourseHorse
Launched in 2011, CourseHorse helps people grow professionally, artistically and socially. They work with over 500 schools and feature 20,000 classes in NYC, with categories ranging from art, cooking, yoga and DIY to kids and professional. While right now they just feature classes in New York, they will be launching a Los Angeles branch this month. Says Evan Fain, Vice President of Business Development and Marketing at CourseHorse, “We love learning and believe it’s the key to living a fulfilled existence.” You can sign up for “Field Guide I: The Camera,” as well as other photography courses on CourseHorse.
Hi, I’m Jessie on a journey!
I'm a conscious solo traveler on a mission to take you beyond the guidebook to inspire you to live your best life through travel. Come join me!

Want to live your best life through travel?
Subscribe for FREE access to my library of fun blogging worksheets and learn how to get paid to travel more!


Hey Jessie… great post! Seems like you really grasped the essential concepts of photography and your examples are super useful. We really enjoyed having you in class and thanks for the writeup awesome write-up!
No, Thank you! I really enjoyed it and felt I got a lot out of it. Once I get some practice in I’ll definitely be coming back for a next-level course! 🙂
Really nice primer for someone like me who too wants to get more into the complexities of photography and use my camera settings more. Time to stop being lazy and get on with it!
@Molly: Glad you found it helpful! Once you get the basics down you can start having fun and experimenting with composition 🙂
Hello There. I discovered your weblog the use of msn. That is an extremely smartly written article. I will be sure to bookmark it and come back to read more of your useful information. Thanks for the post. I will definitely return.
Great post! I just got my first SLR camera and have been fiddling with it a bit. This will help a great deal. I’m also taking a photography class soon but this will get me started sooner. Great explanations!
@Marsha: It’s a lot of fun once you get the hang of it. You’ll love your new high res travel photos!