
The Secret To Taking Epic Travel Photos (It’s Not Your Camera)
This post contains affiliate links, including Amazon affiliate links. If you purchase through these links, I may earn a commission at no extra cost to you. As an Amazon Associate, I earn from qualifying purchases. Thank you for your support!
If you’ve ever taken hundreds of travel photos on a trip and come home with only a handful worth posting, you’re not alone.
The thing is, the difference between capturing scroll-stopping photos and coming home with a memory card full of misses isn’t your camera or gear, but your planning.
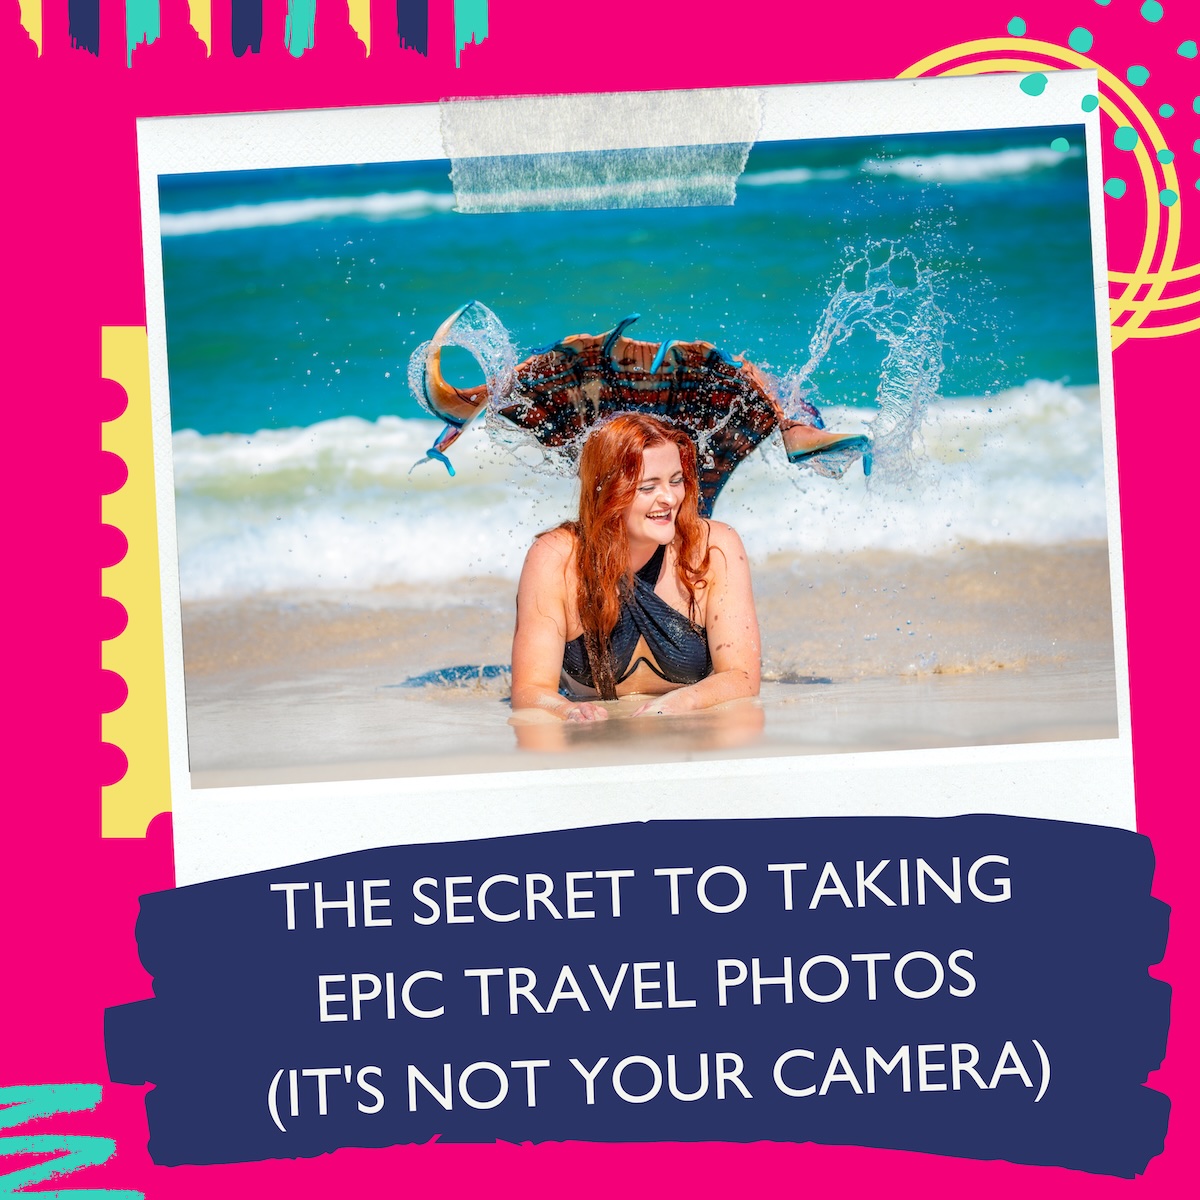
To help ensure you come home from every trip with images you’re excited to post, adventure photographer Alexandra Lauren of The Bucket List Mermaid is here to help.
Alexandra is known for her stunning outdoor photography — often featuring her wearing a mermaid tail — and her ability to break down pro photography strategies into attainable tips, even if you’re new to photography.
In this guide, Alexandra shares:
- Her go-to 4-shot framework for planning any location intentionally
- How to choose photo-worthy locations using her two go-to methods
- The real difference golden hour, blue hour, and harsh midday light make — and how to adapt when the weather won’t cooperate
- How to tell the story of a place instead of just taking the standard photo everyone else gets
- Simple, beginner-friendly tactics (that pros still rely on) for instantly leveling up your shots
- And more!
Plus, you’ll get her favorite underused iPhone photography features, how to know which of your shots are actually worth editing, and how to balance capturing content with enjoying your trip.
💻 Bonus: This episode of The Profitable Travel Blogger Podcast includes options for learning through audio, video, or a text guide below!
💡Quick travel photography tips:
-Before you click the shutter, stop and ask where your light is coming from. Take this into consideration as you compose your shot.
-Four must-have shots to get for every shoot: wide, contextual, detail, and an emotional portrait. Then leave room for spontaneity.
-Put your own creative spin on the “expected” shot. A different angle or pose is often all it takes to stand out.
🎁 Join Travelpayouts to monetize your travel recommendations. Their affiliate platform gives creators access to more than 90 travel brands in one place. New users can get a bonus of up to $100 when they sign up through my referral link — earned in stages as you hit commission milestones.
🎁 Join the free Take Better Travel Photos With Your iPhone Challenge. In just 5 days, you’ll learn simple strategies for taking pro-level travel photos — no experience or fancy equipment required.
How To Capture Pro-Level Travel Photos [Audio + Video]
Tips For Improving Your Travel Photography [Step-By-Step Guide]
The following is a summary of the podcast episode sharing tips for taking beautiful travel photos. It is transcribed as best as possible, with paraphrasing included. For the full strategy, make sure to listen to the audio or video version of the podcast above.
1) Thank you so much for taking the time to share your tips! To start, can you share more about yourself, your business, and how you got into adventure travel photography?
I’m Alexandra, the creator of The Bucket List Mermaid. I actually started out focused on bucket-list travel in general, as I have a background in healthcare and wanted to help people travel more and live more.
Over time, I noticed I was becoming more adventurous specifically because of photography. I’d think, “I have to get up for sunrise for this shot,” or “I have to hike out here to get this angle.”
Travel photography was pushing me to do more, see more, and go further than I would have otherwise — and I wanted to help other creators experience that same push.
2) Let’s say a creator has a trip coming up, and they want to make a plan for the photos they capture. Just as a general overview, what is your process for this?
I always work from a shot list, though it’s a little different from the standard shot list you might get from a brand. This is just for my own personal work.
Generally, I aim for at least four core shots at any location:
- A wide shot that gives context on where you are.
- A contextual shot of what you’re doing: backpacking, a coffee cup in front of a cute European street, anything that shows what’s happening in the scene.
- A detail shot that fills in the smaller pieces of the story.
- An emotional or environmental portrait that captures what you’re actually feeling in that moment.
Once I have those four, I leave room for spontaneity, since that’s often where the most beautiful, surprising shots come from. Especially with travel, you never know when a local will point you toward something you didn’t even know existed.
Other times, I’ll give myself an intentional skills challenge instead: shooting only classic black-and-white landscapes, gritty old-timey hiking photos, macro shots, or city-market bokeh. I do this partly because I love editing and want more material to practice different styles on, and partly because it keeps me adaptable to any situation.
Two quick definitions for anyone newer to this:
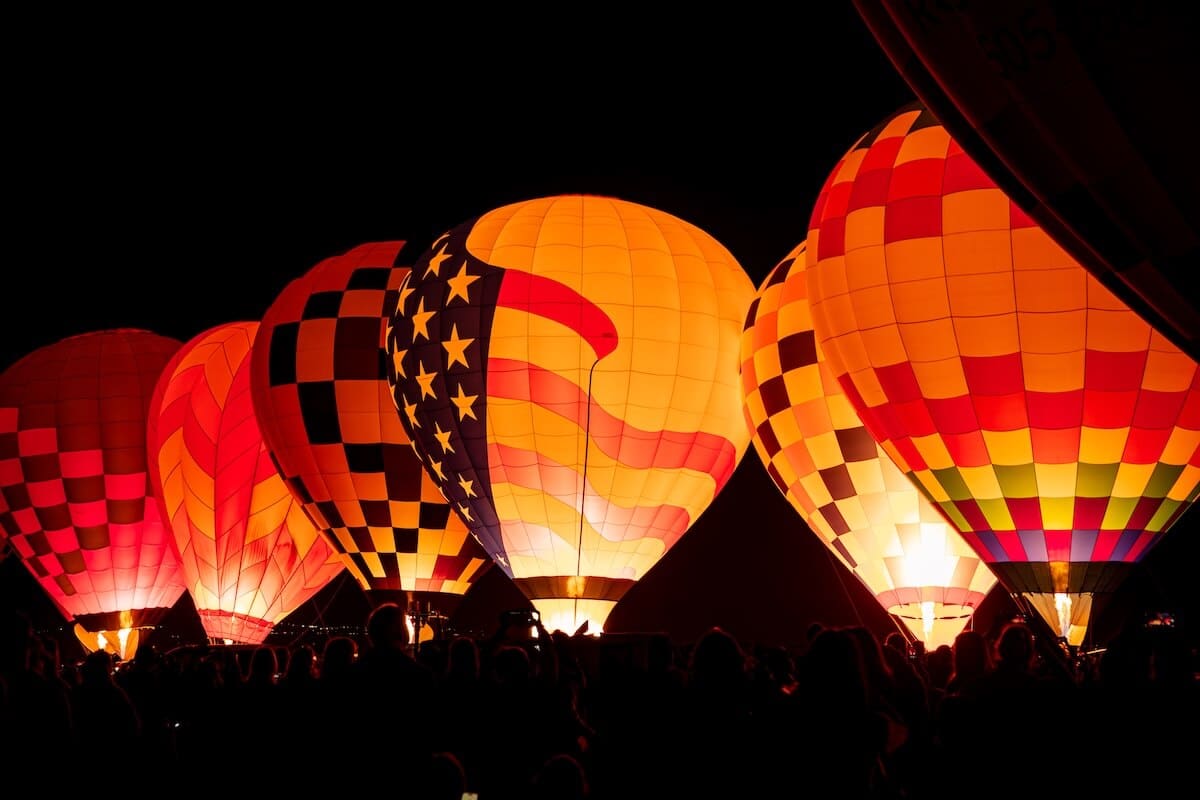
Bokeh is the soft, blurred, glowing look you get in the background when you shoot with a very wide aperture (a low f-stop, like f/1.4–f/2.8). Think the dreamy, romantic background you see constantly in wedding photography, or glowing orbs from string lights or streetlamps at night.
Macro is extreme close-up photography: getting right into the tiny details, like water droplets, textures, or (my current obsession) bees on blooming fireweed. You don’t need a dedicated macro lens for this, either. Modern phone telephoto lenses can get surprisingly close, no expensive gear required.
3) How do you go about choosing the locations you want to shoot and the shots you want to capture, and turning that into an actual plan?
I use two main methods for choosing locations:
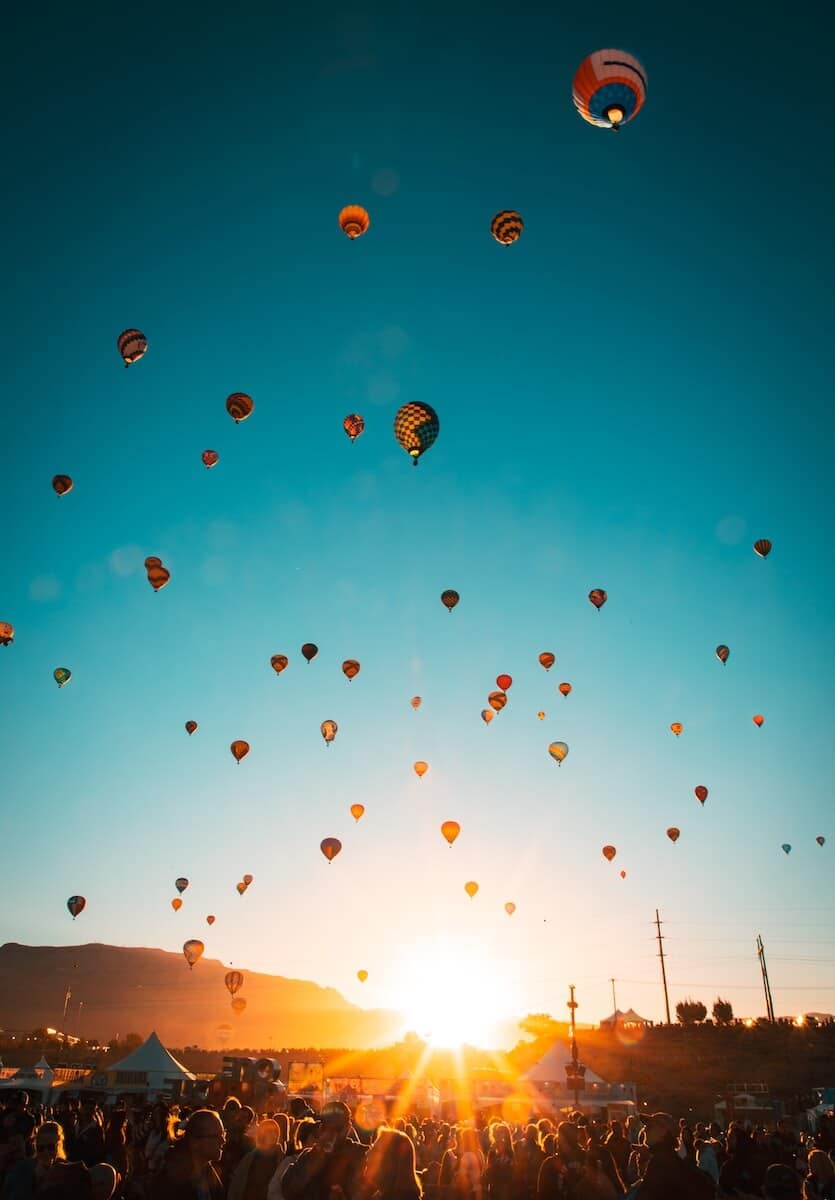
My travel photography bucket list. For instance, I’ve always wanted to photograph whales bubble netting, so that’s what took me to Juneau, Alaska. I let that bucket list guide where I go and what I prioritize capturing while I’m there.
Local recommendations. I try to make friends wherever I am and ask about their secret photography locations. I don’t mind hiking, so I’ll often ask, “Where can I go backpacking to find a shot very few people get?” Some of the most beautiful photos come from exactly these unplanned, locally-sourced moments.
4) Travel photography often comes down to light. How do you figure out the best time of day (or even time of year) to shoot a specific location before you’ve ever set foot there? And what happens if the light or weather doesn’t cooperate?
Light is genuinely one of the biggest things people miss in photography. Once you start noticing it, you can’t unnotice it, and it’s something you should consider before taking a shot.
Here are the lighting types to be aware of:
Golden hour is the window around sunrise and sunset (a little before, a little after) when light is diffused, colors turn warm and orange, and shadows soften. If I have the option to shoot during golden hour for a big bucket-list shot, I’ll take it.
Blue hour is the period right before sunrise and right after sunset, when the sky turns a striking blue (and sometimes pink). It’s trickier since you have less light, but it can produce some of the coolest, moodiest shots.
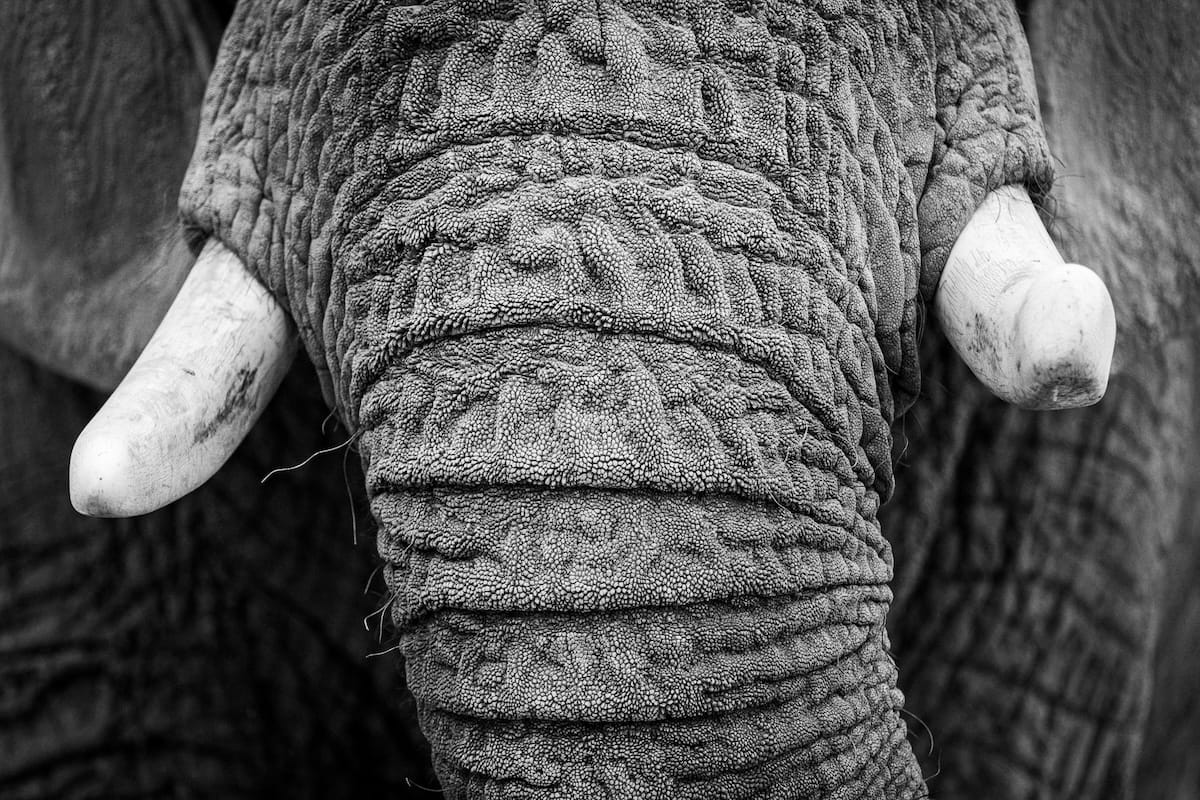
Harsh midday light can work in your favor if you lean into it intentionally instead of fighting it. Some of my favorite photos ever came from a zoo shoot at midday, since zoos aren’t even open for golden hour; the harsh light let me capture an amazing close-up of the texture in an elephant’s skin, something I never would have gotten in soft, diffused light.
Cloudy or overcast days are actually a gift: no harsh shadows down your subject’s nose, and far more editing flexibility than a blown-out sky, which is difficult to fully recover in post.
5) For any travel creators who maybe are newer to travel photography or who want to take their photography skills to the next level, what are some of the simplest photography tactics they can implement that make the biggest impact?
Three things I’d point beginners toward first:
Pay attention to light. This is the first thing you should consider, as the type of light and where it’s coming from will determine how you compose your shot.
For example, if the sun is directly behind your subject, you’ll either end up with a silhouette or a blown-out sky if you expose for their face. Move so the light hits from the side instead, and you’ll get texture and depth in the same shot without any extra editing.
Create depth in the image. Beginner photos tend to be flat, with the subject front and center and everything in focus. More advanced shots use a clear foreground, subject, and background, which makes the viewer feel like they’re standing in the scene.
Tell a story. Here’s a photography exercise: ask yourself what actually made you want to take out your camera in the first place. Usually it’s a feeling, not just a scene, so try to convey that in the shot.
6) As travel creators, the images we share are also meant to help tell the story of the place we’re visiting. What are some ways to effectively do this?
Put your own spin on the expected shot. It’s totally fine to get the shot everyone else already has of a well-known spot, but try a different angle, different lighting, or a different pose too. Then, if you can, find one shot no one else has.
Even a caption like “here’s the shot you’ve seen, but here’s the even better one I found” is a great way to stand out, and it can help steer your audience away from overtourism at oversaturated locations.
💡Tip: Pinterest is a great source of inspiration for this. Search something like “[your destination] photography poses,” see what other creators are doing, and put your own twist on it.
Capture the journey, not just the destination. I did a personal challenge around this while backpacking: tell a story without relying on faces or people in the frame. It pushed me to capture the little details, like a friend’s feet on the car dash, lighting the camp stove to make ramen, or hiking boots mid-stride.
Your subject doesn’t have to be you. A steaming cup of coffee outside your tent, muddy hiking boots, or rain beading on a jacket can build an entire narrative, because travel isn’t only about the destination. It’s about how you got there and the moments you experienced once you arrived.
7) Once you’re back home, how do you go about culling, organizing, and storing all of your footage?
Culling can be overwhelming, so it really comes down to finding a system that works for you.
Here are two strategies you can use:
First pass: Delete anything blurry or an obvious no. Lightroom’s AI-assisted culling can help, but double-check its calls, since it will occasionally flag a sharp photo as blurry (and vice versa).
Rank what’s left: I sort into tiers, usable, mid, and top-tier, then edit the top-tier photos first before working down the list. My top-tier shots are also what go into my print shop so people can buy prints.
Organize by destination: In terms of storing your travel photos, Jessie (the show host) actually has a smart folder/gallery system inside of SmugMug, a photo storage, sharing, and selling platform.
To create this, you’ll have top-level folders (e.g., “Japan” nested inside a broader “Asia” folder), with galleries organized by content type and rating tier inside. For instance, Jessie’s Japan folder looks like this:
- Japan Camera All (where all camera photos get saved automatically)
- Japan Camera Best (the top-tier edited shots – which are typically the ones used for blog and social content)
- Japan Phone All (where all phone photos and videos get saved automatically)
- Japan Phone Best (the content that gets “favorited” and edited)
- Japan 360 Favorites (edited photos and clips taken with an Insta360 camera; I save all 360 content via Insta360’s native app since they are unique file types not accepted by my SmugMug plan)
She also keeps a separate Partnership Portfolio folder organized by the type of work she wants to be hired for, like her best product or hotel photography. That way, she has a ready-made collection to pull from whenever a potential partner wants to see sample work.
💡Tip: Whatever gallery tool you use, pay attention to file type. Some plans will automatically convert RAW files to JPEG on upload, so double-check before deleting your originals, or you could lose your RAW files entirely.

8) Editing is often where you can really turn a dull photo into something print-worthy. What are some of your top photo editing tips?
I edit in Lightroom, and professional editing goes deeper than most people expect. My top three hacks:
Keep your blues and greens consistent. Inconsistent color grading across a gallery, especially in the blues and greens, is the number one thing that makes a set of photos feel disjointed. Decide on your style and apply it consistently across a set.
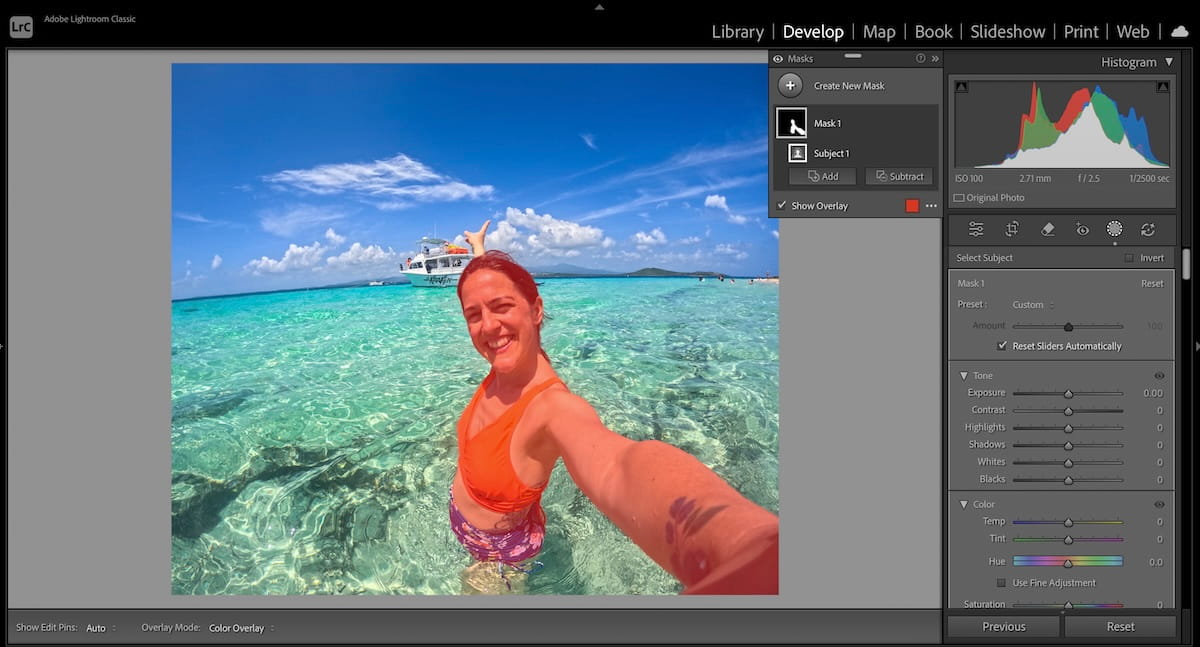
Learn masking. Lightroom’s masking tool lets you select specific parts of a photo, like “sky” or “person,” and adjust only that section. My favorite trick: isolate the sky and pull the highlights slider all the way down. It transforms flat clouds into something completely different on almost every photo.
Step away, then come back. I’ll finish an edit convinced it’s my best work, then come back an hour later and think it’s way too dark. Editing with fresh eyes catches things you can’t see in the moment.
💡Tip: If you notice yourself making the same adjustments over and over, save them as a preset. It saves an enormous amount of time compared to starting from scratch every time.
9) Do you have any tips for how travel creators can monetize their photography?
Build a separate portfolio account. My main Instagram is about living adventurously through your lens and sharing photography tips, while my second account is purely to showcase my product photography to help me land UGC collaborations.
It’s smart to publish what you actually want to be hired for, even if that means keeping it separate from your main feed.
As for monetization, there are more paths than people realize. It’s about finding which one fits you. A few ideas:
Stock photography. This is easy to get into, but you’re making pennies per shot, so it requires volume to add up.
UGC (user-generated content) for brands. This is when you create photo and video content that showcases the user-experience of a brand’s product or service.
Client and experience photography — like Jessie’s own NYC Photo Journeys business, where she photographs clients in iconic New York locations.
Pitch companies on upgrading their media. Brands always need marketing assets, and it’s a smart option to pitch brands regardless of follower size.
I currently guide in Alaska, and I’ve pitched the company I work for by saying, essentially, “your current photos are fine, but here’s what better ones could do for your sales.”
Strong photography sells professionalism and pulls people into the experience, which is especially valuable right now, when audiences are craving human authenticity over AI-generated or generic stock imagery.
Use photography as an upsell. As creators, you’re possibly already working on paid press trips and brand campaigns where you create blog and social content. Now, offer your photos as a separate line item.
On press trips, ask upfront what a brand is looking for. Even if it doesn’t turn into a paid photo deal on the spot, you’ll know what to shoot and can share samples to try to upsell them afterward.
💡Important: Don’t forget licensing. How a brand plans to use your photos changes what you should charge. Social usage is one price, but paid advertising usage is a very different price, and yearly licensing renewals are worth negotiating too. For help, check out this guide on how to price, license, and sell your travel photography.
10) For those shooting on a phone, what are some of your favorite underused phone features that you recommend all creators start using?
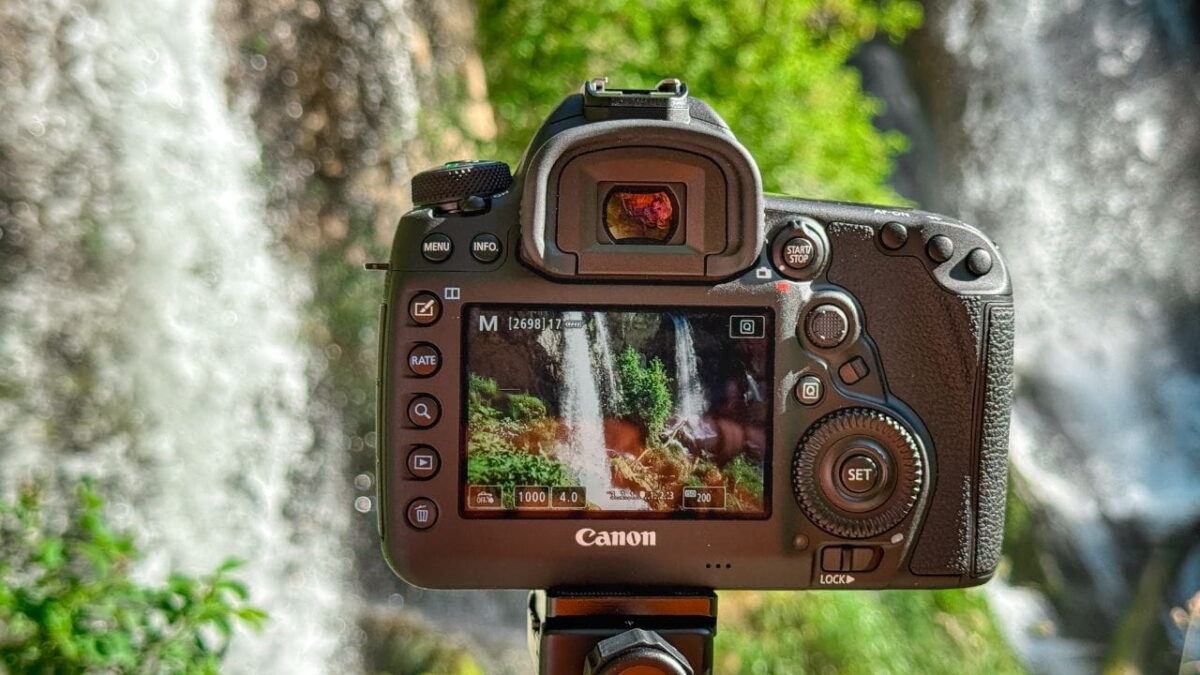
Long exposure from Live Photos. Most people take a single, static shot of a waterfall and stop there. Instead, shoot it in Live mode, then use the “Long Exposure” effect afterward for that silky, flowing-water look you’d normally need a tripod for. It works well on water in general.
Shooting in RAW on your phone. It’s a simple toggle in your camera settings, and it captures everything your sensor picks up rather than a compressed version, giving you far more flexibility when editing. Just know it eats up storage fast, so save it for shots you’re confident you’ll want to edit.
🎁 Remember to sign up for the free Take Better Travel Photos With Your iPhone Challenge! You’ll learn simple tricks for composing beautiful shots, hidden phone photography features that make a big impact, creative ways to use different lighting types, and more — creative exercises included!
11) As travel creators, one struggle is balancing capturing content with actually enjoying our trips. Do you have any tips for this?
My answer is boundaries: with myself, and with my camera, which, let’s be honest, can be a bit of a toxic relationship if you let it. Once I get my four core shots, I give myself time to go a little wild creatively: run around, climb a tree, get that weird shot.
And then, once it’s away, it’s away. Photography is great for pushing you to get up at 3am for golden hour, but it’s just as important to step away from the camera once you have your shots.
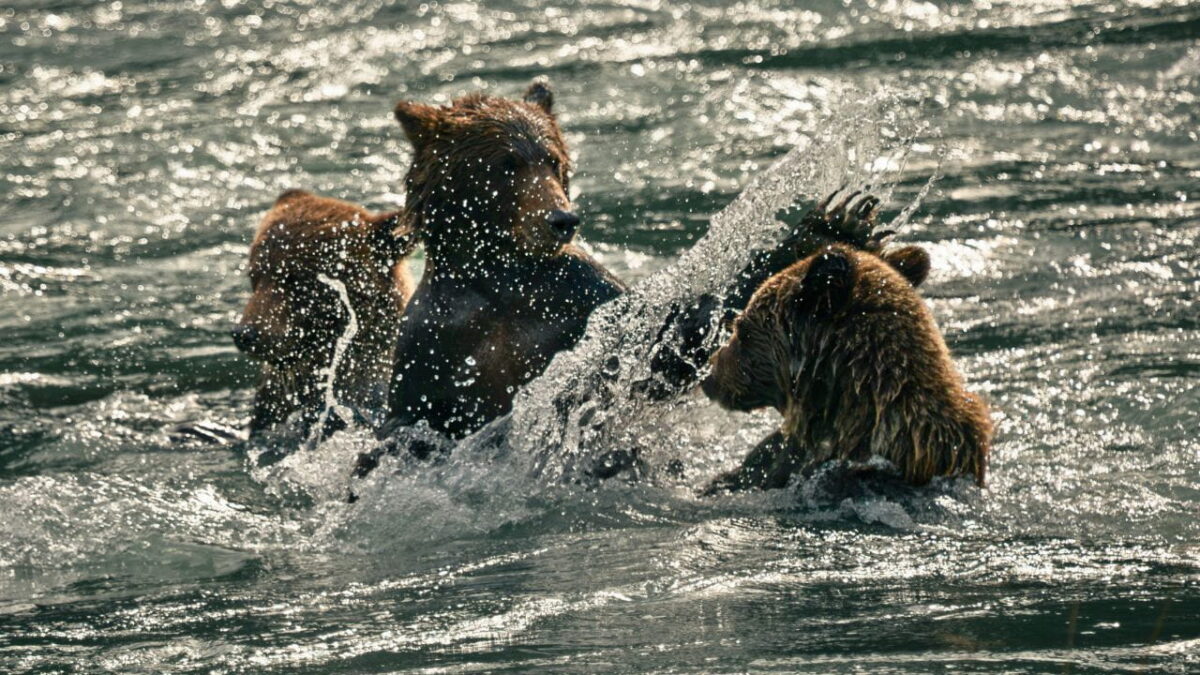
I’ve had moments watching an incredible bear moment unfold and thought, “I wish I had my camera,” then stopped myself and just watched instead, without documenting it.
Once you’ve got the shot and it’s sharp and in focus, put the camera away and let the moment be.
12) Thank you so much for sharing your travel photography tips! Where can readers find you?
- TheBucketListMermaid.com (website)
- @TheBucketListMermaid (Instagram)
- Shutterbugs Gone Wild (Substack)
Recommended Tools For Travel Photographers
Adobe Lightroom. A professional yet budget-friendly editing software beloved by photographers for its non-destructive RAW editing, letting you fine-tune color, light, and detail (including selective masking) without ever altering the original file.
SmugMug. A reliable cloud-based platform for organizing, storing, and sharing full-resolution and watermarked photo galleries with clients and brand partners. You can also use it to create a shop with sellable prints.
Mermaid Lightroom Presets Pack. Alexandra’s own Lightroom presets to help you recreate her signature editing style in just a few clicks.
➡️ Click here for a full list of recommended tools and resources for creators.
Bonus Content Creation Strategies
Learn how to:
- Feel comfortable in front of a camera
- Repurpose 1 piece of content into 10+
- Monetize your content using several strategies
- Create content that sells & converts on social media
- Grow & monetize on Instagram as a travel creator
➡️ Click here for the full Profitable Travel Blogger Podcast episode list!
Get Notified About New Episodes
Don’t miss an episode! Subscribe to The Profitable Travel Blogger Podcast on your favorite podcast platform like Apple Podcasts, Spotify, and Amazon Music.
Prefer email? Click here to sign up for our Podcast Updates newsletter!
If you already grabbed the free Travel Blogger Resource Library, you’re already on the list to get notified. 🎉
Your Pro-Level Travel Photography Game Plan
To help you implement what you’ve learned, here is your 5-step action plan for taking pro-level travel photos on your next trip:
1) Build your 4-shot list. Before you head out, commit to always capturing a wide shot, a contextual shot, a detail shot, and an emotional or environmental portrait at every location. Once you have those four, give yourself permission to get spontaneous and creative with the rest.
2) Plan around light, but stay adaptable. Research golden hour and blue hour timing for your destination ahead of time, but don’t cancel a shoot over harsh midday light or clouds. Instead, ask yourself how you can use it to your advantage (like leaning into shadows and texture, or taking advantage of the extra editing flexibility overcast light gives you).
3) Build a culling and storage system before your next trip, not after. Set up destination folders with “All” and “Edited” galleries in SmugMug (or a similar tool) so you’re not starting from scratch with thousands of unsorted files every time you get home. And double check your RAW file settings before you delete anything.
4) Learn Lightroom masking. If you only pick up one new editing skill from this episode, make it masking in Lightroom, specifically isolating the sky and pulling the highlights down for an instantly more dramatic look.
5) Set a boundary with your camera. Decide in advance that once you have your core shots, the camera goes away and you enjoy the rest of the experience. The whole reason most of us got into this in the first place was to live adventurously, not just document it.
🎉 Don’t forget: you can sign up for the free “Take Better Travel Photos With Your iPhone” Challenge to learn how to take pro-level shots with just your phone, with a bonus peek at content Alexandra shot on location in Alaska.
➡️ Click here to access the free travel photography challenge!